Cleaning Session at the Museum!
Yesterday, on Monday 21st of November, conservator Emily Nisbet-Hawkins visited the museum to tell us how to take care of the precious artifacts the building houses. Emily came to the museum as part of the South East Museum Development Programme, which is supported by the Arts Council England.
First of all, Emily talked some volunteers through how to clean different materials such as copper and silver metals and ceramics like bone-china and porcelain (including a ceramic chamber-pot no-one was particularly eager to begin work on!) Emily talked us through how to identify an object and then how to clean it step-by-step in great detail, but so this article is not several pages long, I will provide a summary of the basics!
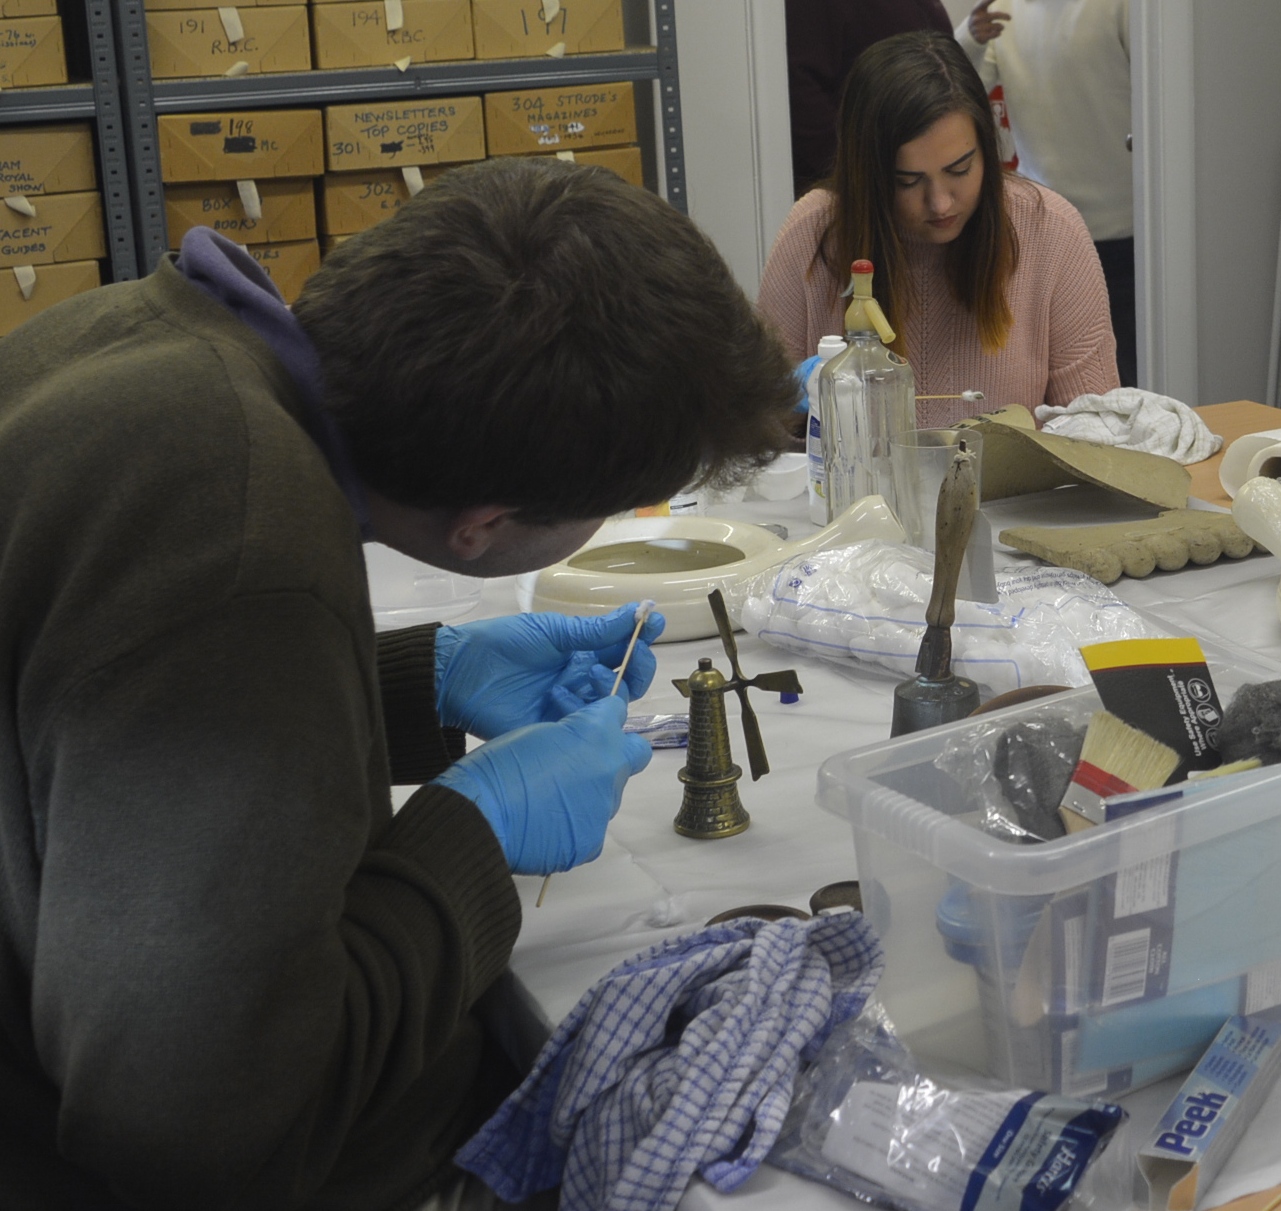
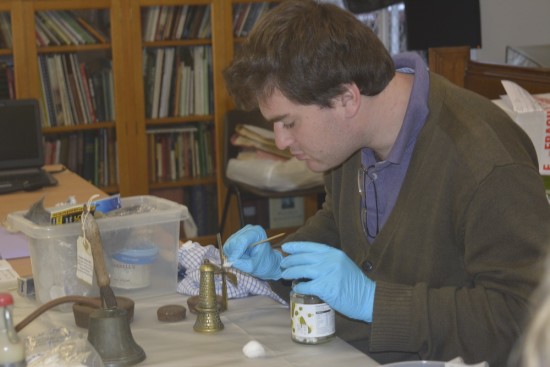
When handling a metal, it is important that if you have long hair it is tied back, you are wearing appropriate gloves, you have removed any jewellery that could scratch the object and, perhaps most importantly, that you are constantly aware of your surroundings! Cleaning a metal lowers its risk of corrosion, but over time, the surface and any decoration can also disappear as the corrosion is removed. Now, onto the ways to clean different metals. When cleaning silver, always check if if the tarnishing is not there as a deliberate effect. Lightly rub the object with a silver-cleaning cloth in circular motions and then with a clean cloth. Silver dip can be used for extremely dark tarnish but it is very important that this is done with the greatest care. Dampen a cotton bud with the chemical and afterwards remove it from the object with distilled water. (Pictured Below: Cleaning a metal!)
As for brass and copper, a cotton bud should be used to dab the object in circular motions with a small amount of Peek on it. This should then be removed with a kitchen towel. Finally, iron and steel should be cleaned with Autosol or Peek and this should be wiped off afterwards with a clean cloth. Also bear in mind that all wire wool debris should be removed and gently brushed into a museum vacuum. All metals should be waxed afterwards with a product like Renaissance Wax, which should be left for 5-10 minutes to dry slightly and then buffed into the product with the same cloth or brush used to apply the wax.
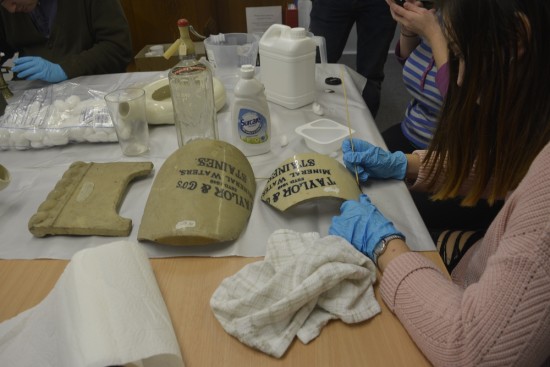
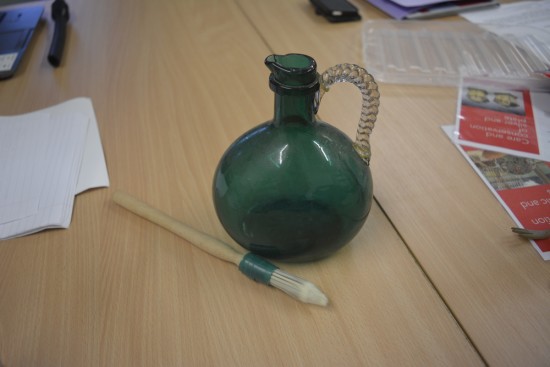
Moving on to Ceramics! Never pick up a ceramic or glass object by the rim or handle – always pick up with two hands near the bottom. Ceramics with unstable surfaces should not be dusted, but large smooth areas can be cleaned with a lint-free cotton duster. A brush should be used for intricate objects, catching the dust in a museum vacuum. As for wet cleaning, as opposed to the dry cleaning described above, porous objects should never be wet-cleaned. However, those that can be should be dabbed with a cotton wool swab with the detergent solution on it, working from the rim into the middle. Discard swabs as they become dirty, and then rinse the cleaned area with more swabs dampened in clean water to rid the object of detergent. Lastly, dry the object with kitchen towel and leave to air-dry. (Pictured Below: 1. Cleaning a ceramic, 2. a delicate glass artefact.)
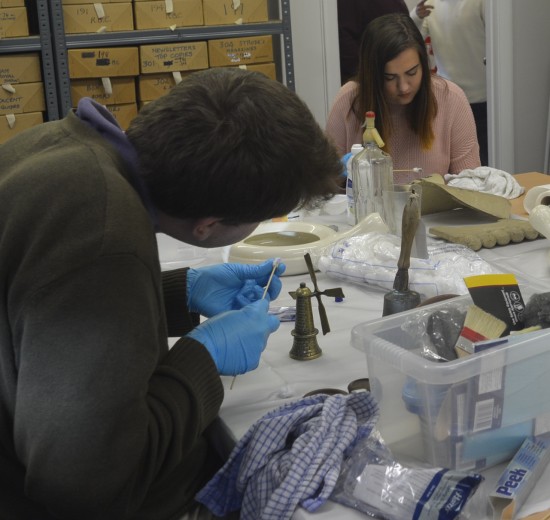
And that concludes our whistle-stop tour of how to clean metals, ceramics and glass! Emily was extremely informative and helpful. After her walk-through, a small break was taken and then volunteers Hannah, Alex and Tom decided they would begin cleaning some of the object that had been brought downstairs from storage as examples. It was rewarding to see what Emily had just told us being carried out, and the volunteers seemed to have taken what Emily had instructed them to do to heart, as they were all extremely careful and it was obvious they were enjoying themselves. As they concentrated, Sarah looked up the history of the objects being cleaned. At the end of the event, the objects were all placed on a specially-prepared shelf upstairs, fully clean! (Pictured below: volunteers working on artefacts.)
